SMAA Anti-aliasing : Anti-aliases the image using the SMAA technique - see http://www.iryoku.com/smaa/
LumaSharpen : Sharpens the image, making details easier to see
Bloom : Makes strong lights bleed their light into their surroundings
HDR : Mimics an HDR tonemapped look
Technicolor : Makes the image look like it was processed using a three-strip Technicolor process - see http://en.wikipedia.org/wiki/Technicolor
Cineon DPX : Makes the image look like it was converted from film to Cineon DPX. Can be used to create a "sunny" look.
Lift Gamma Gain : Adjust brightness and color of shadows, midtones and highlights (avoids clipping)
Tonemap : Adjust gamma, exposure, saturation, bleach and defog. (may cause clipping)
Vibrance : Intelligently saturates (or desaturates if you use negative values) the pixels depending on their original saturation.
Curves : Contrast adjustments using S-curves.
Sepia : Sepia tones the image - see http://en.wikipedia.org/wiki/Sepia_tone#Sepia_toning
Vignette : Darkens the edges of the image to make it look more like it was shot with a camera lens. - see http://en.wikipedia.org/wiki/Vignetting
Dither : Applies dithering to simulate more colors than your monitor can display. This lessens banding artifacts - see http://en.wikipedia.org/wiki/Dithering# ... processing
Splitscreen : Enables the before-and-after splitscreen comparison mode.
![[Ooooo]](/images/smilies/nuevos/sorprendido_ani1.gif "Oooooo") :
:


![[beer]](/images/smilies/nuevos2/brindando.gif "brindis")
![[sonrisa]](/images/smilies/nuevos/risa_ani1.gif "sonrisa")
landau escribió:Muy interesante Zack.
¿Funciona SweetFx con Far Cry 3 en direct x 11?
boxariel escribió:Yo lo tengo instalado en dishonored y de pelicula, habria que ir poniendo en que juegos es compatible y en cuales no
landau escribió:Para que la imagen no sea tan oscura, ¿se baja la gamma o se sube?
Efraim27 escribió:Interesante hilo. Tengo que probarlo en el Guild Wars 2 a ver como se ve


/*-----------------------------------------------------------.
/ Choose effects /
'-----------------------------------------------------------*/
// Set to 1 for ON or 0 for OFF
#define USE_SMAA_ANTIALIASING 1 //[0 or 1] SMAA Anti-aliasing : Smoothens jagged lines.
#define USE_LUMASHARPEN 1 //[0 or 1] LumaSharpen : Also sharpens the antialiased edges which makes them less smooth - I'm working on fixing that.
#define USE_BLOOM 0 //[0 or 1] Bloom : Makes bright lights bleed their light into their surroundings (relatively high performance cost)
#define USE_HDR 1 //[0 or 1] HDR : Not actual HDR - It just tries to mimic an HDR look (relatively high performance cost)
#define USE_TECHNICOLOR 0 //[0 or 1] TECHNICOLOR : Attempts to mimic the look of an old movie using the Technicolor three-strip color process (Techicolor Process 4)
#define USE_DPX 0 //[0 or 1] Cineon DPX : Should make the image look like it's been converted to DXP Cineon - basically it's another movie-like look similar to technicolor.
#define USE_LIFTGAMMAGAIN 0 //[0 or 1] Lift Gamma Gain : Adjust brightness and color of shadows, midtones and highlights (avoids clipping)
#define USE_TONEMAP 1 //[0 or 1] Tonemap : Adjust gamma, exposure, saturation, bleach and defog. (may cause clipping)
#define USE_VIBRANCE 1 //[0 or 1] Vibrance : Intelligently saturates (or desaturates if you use negative values) the pixels depending on their original saturation.
#define USE_CURVES 0 //[0 or 1] Curves : Contrast adjustments using S-curves.
#define USE_SEPIA 0 //[0 or 1] Sepia : Sepia tones the image.
#define USE_VIGNETTE 0 //[0 or 1] Vignette : Darkens the edges of the image to make it look more like it was shot with a camera lens. May cause banding artifacts.
#define USE_DITHER 0 //[0 or 1] Dither : Applies dithering to simulate more colors than your monitor can display. This lessens banding artifacts (mostly caused by Vignette)
#define USE_SPLITSCREEN 0 //[0 or 1] Splitscreen : Enables the before-and-after splitscreen comparison mode.
/*-----------------------------------------------------------.
/ SMAA Anti-aliasing settings /
'-----------------------------------------------------------*/
#define SMAA_THRESHOLD 0.05 // [0.05 to 0.20] Edge detection threshold
#define SMAA_MAX_SEARCH_STEPS 16 // [0 to 98] Determines the radius SMAA will search for aliased edges
#define SMAA_MAX_SEARCH_STEPS_DIAG 10 // [0 to 16] Determines the radius SMAA will search for diagonal aliased edges
#define SMAA_CORNER_ROUNDING 20 // [0 to 100] Determines the percent of antialiasing to apply to corners.
// -- Advanced SMAA settings --
#define COLOR_EDGE_DETECTION 1 // [0 or 1] 1 Enables color edge detection (slower but slightly more acurate) - 0 uses luma edge detection (faster)
#define SMAA_DIRECTX9_LINEAR_BLEND 0 // [0 or 1] Using DX9 HARDWARE? (software version doesn't matter) if so this needs to be 1 - If not, leave it at 0.
/*-----------------------------------------------------------.
/ LumaSharpen settings /
'-----------------------------------------------------------*/
// -- Sharpening --
#define sharp_strength 1.60 // [0.10 to 3.00] Strength of the sharpening
#define sharp_clamp 0.048 // [0.000 to 1.000] Limits maximum amount of sharpening a pixel recieves - Default is 0.035
// -- Advanced sharpening settings --
#define pattern 2 // [1|2|3|4] Choose a sample pattern. 1 = Fast, 2 = Normal, 3 = Wider, 4 = Pyramid shaped.
#define offset_bias 1.0 // [0.0 to 6.0] Offset bias adjusts the radius of the sampling pattern.
// I designed the pattern for offset_bias 1.0, but feel free to experiment.
// -- Debug sharpening settings --
#define show_sharpen 0 // [0 or 1] Visualize the strength of the sharpen (multiplied by 4 to see it better)
/*-----------------------------------------------------------.
/ Bloom settings /
'-----------------------------------------------------------*/
#define BloomThreshold 20.25 //[0.00 to 50.00] Threshold for what is a bright light (that causes bloom) and what isn't.
#define BloomPower 1.446 //[0.0000 to 8.0000] Strength of the bloom
#define BloomWidth 0.0142 //[0.0000 to 1.0000] Width of the bloom
/*-----------------------------------------------------------.
/ HDR settings /
'-----------------------------------------------------------*/
#define HDRPower 1.00 //[0.0 to 8.0] Strangely lowering this makes the image brighter
#define radius2 0.825 //[0.0 to 8.0] Raising this seems to make the effect stronger and also brighter
/*-----------------------------------------------------------.
/ TECHNICOLOR settings /
'-----------------------------------------------------------*/
#define TechniAmount 0.11 //[0.0 to 1.0]
#define TechniPower 2.8 //[0.0 to 8.0]
#define redNegativeAmount 0.88 //[0.0 to 1.0]
#define greenNegativeAmount 0.88 //[0.0 to 1.0]
#define blueNegativeAmount 0.88 //[0.0 to 1.0]
/*-----------------------------------------------------------.
/ Cineon DPX settings /
'-----------------------------------------------------------*/
#define Red 8.0 //[1.0 to 15.0]
#define Green 8.0 //[1.0 to 15.0]
#define Blue 8.0 //[1.0 to 15.0]
#define ColorGamma 2.5 //[0.1 to 2.5] Adjusts the colorfulness of the effect in a manner similar to Vibrance. 1.0 is neutral.
#define DPXSaturation 3.0 //[0.0 to 8.0] Adjust saturation of the effect. 1.0 is neutral.
#define RedC 0.36 //[0.6 to 0.2]
#define GreenC 0.36 //[0.6 to 0.2]
#define BlueC 0.34 //[0.6 to 0.2]
#define Blend 0.2 //[0.0 to 0.1] How strong the effect should be.
/*-----------------------------------------------------------.
/ Lift Gamma Gain settings /
'-----------------------------------------------------------*/
#define RGB_Lift float3(1.000, 1.000, 1.000) //[0.000 to 2.000] Adjust shadows for Red, Green and Blue
#define RGB_Gamma float3(1.000, 1.000, 1.000) //[0.000 to 2.000] Adjust midtones for Red, Green and Blue
#define RGB_Gain float3(1.000, 1.000, 1.000) //[0.000 to 2.000] Adjust highlights for Red, Green and Blue
/*-----------------------------------------------------------.
/ Tonemap settings /
'-----------------------------------------------------------*/
#define Gamma 1.0 //[0.00 to 2.00] Adjust midtones
#define Exposure 0.00 //[-1.00 to 1.00] Adjust exposure
#define Saturation -0.20 //[-1.00 to 1.00] Adjust saturation
#define Bleach 0.00 //[0.00 to 1.00] Brightens the shadows and fades the colors
#define Defog 0.008 //[0.00 to 1.00] How much of the color tint to remove
#define FogColor float3(0.00, 2.55, 2.30) //[0.00 to 1.00, 0.00 to 1.00, 0.00 to 1.00] What color to remove - default is blue
/*-----------------------------------------------------------.
/ Vibrance settings /
'-----------------------------------------------------------*/
#define Vibrance 0.40 //[-1.0 to 1.0] Intelligently saturates (or desaturates if you use negative values) the pixels depending on their original saturation.
/*-----------------------------------------------------------.
/ Curves settings /
'-----------------------------------------------------------*/
#define Curves_contrast 0.30 //[-1.0 to 1.0] The amount of contrast you want
// -- Advanced curve settings --
#define Curves_formula 7 //[1|2|3|4|5|6|7] The constrast s-curve you want to use.
/*-----------------------------------------------------------.
/ Sepia settings /
'-----------------------------------------------------------*/
#define ColorTone float3(1.40, 1.10, 0.90) //[0.00 to 1.00, 0.00 to 1.00, 0.00 to 1.00] What color to tint the image
#define GreyPower 0.11 //[0.0 to 1.0] How much desaturate the image before tinting it
#define SepiaPower 0.58 //[0.0 to 1.0] How much to tint the image
/*-----------------------------------------------------------.
/ Vignette settings /
'-----------------------------------------------------------*/
#define VignetteRadius 1.00 //[-1.00 to 3.00] lower values = stronger radial effect from center
#define VignetteAmount -1.00 //[-2.00 to 1.00] Strength of black. -2.00 = Max Black, 1.00 = Max White.
#define VignetteSlope 8 //[1 to 16] How far away from the center the change should start to really grow strong (odd numbers cause a larger fps drop than even numbers)
#define VignetteCenter float2(0.500, 0.500) //[0.00 to 1.00] Center of effect.
/*-----------------------------------------------------------.
/ Dither settings /
'-----------------------------------------------------------*/
//No settings yet, beyond switching it on or off in the top section.
//Note that the checkerboard pattern used by Dither, makes an image harder to compress.
//This can make your screenshots and video recordings take up more space.
/*-----------------------------------------------------------.
/ Splitscreen settings /
'-----------------------------------------------------------*/
#define splitscreen_mode 3 //[1|2|3|4|5] 1 = Vertical 50/50 split, 2 = Vertical 25/50/25 split, 3 = Vertical 50/50 angled split, 4 = Horizontal 50/50 split, 5 = Horizontal 25/50/25 split
Naer escribió:Efraim27 escribió:Interesante hilo. Tengo que probarlo en el Guild Wars 2 a ver como se ve
Asi:
Configuracion:/*-----------------------------------------------------------.
/ Choose effects /
'-----------------------------------------------------------*/
// Set to 1 for ON or 0 for OFF
#define USE_SMAA_ANTIALIASING 1 //[0 or 1] SMAA Anti-aliasing : Smoothens jagged lines.
#define USE_LUMASHARPEN 1 //[0 or 1] LumaSharpen : Also sharpens the antialiased edges which makes them less smooth - I'm working on fixing that.
#define USE_BLOOM 0 //[0 or 1] Bloom : Makes bright lights bleed their light into their surroundings (relatively high performance cost)
#define USE_HDR 1 //[0 or 1] HDR : Not actual HDR - It just tries to mimic an HDR look (relatively high performance cost)
#define USE_TECHNICOLOR 0 //[0 or 1] TECHNICOLOR : Attempts to mimic the look of an old movie using the Technicolor three-strip color process (Techicolor Process 4)
#define USE_DPX 0 //[0 or 1] Cineon DPX : Should make the image look like it's been converted to DXP Cineon - basically it's another movie-like look similar to technicolor.
#define USE_LIFTGAMMAGAIN 0 //[0 or 1] Lift Gamma Gain : Adjust brightness and color of shadows, midtones and highlights (avoids clipping)
#define USE_TONEMAP 1 //[0 or 1] Tonemap : Adjust gamma, exposure, saturation, bleach and defog. (may cause clipping)
#define USE_VIBRANCE 1 //[0 or 1] Vibrance : Intelligently saturates (or desaturates if you use negative values) the pixels depending on their original saturation.
#define USE_CURVES 0 //[0 or 1] Curves : Contrast adjustments using S-curves.
#define USE_SEPIA 0 //[0 or 1] Sepia : Sepia tones the image.
#define USE_VIGNETTE 0 //[0 or 1] Vignette : Darkens the edges of the image to make it look more like it was shot with a camera lens. May cause banding artifacts.
#define USE_DITHER 0 //[0 or 1] Dither : Applies dithering to simulate more colors than your monitor can display. This lessens banding artifacts (mostly caused by Vignette)
#define USE_SPLITSCREEN 0 //[0 or 1] Splitscreen : Enables the before-and-after splitscreen comparison mode.
/*-----------------------------------------------------------.
/ SMAA Anti-aliasing settings /
'-----------------------------------------------------------*/
#define SMAA_THRESHOLD 0.05 // [0.05 to 0.20] Edge detection threshold
#define SMAA_MAX_SEARCH_STEPS 16 // [0 to 98] Determines the radius SMAA will search for aliased edges
#define SMAA_MAX_SEARCH_STEPS_DIAG 10 // [0 to 16] Determines the radius SMAA will search for diagonal aliased edges
#define SMAA_CORNER_ROUNDING 20 // [0 to 100] Determines the percent of antialiasing to apply to corners.
// -- Advanced SMAA settings --
#define COLOR_EDGE_DETECTION 1 // [0 or 1] 1 Enables color edge detection (slower but slightly more acurate) - 0 uses luma edge detection (faster)
#define SMAA_DIRECTX9_LINEAR_BLEND 0 // [0 or 1] Using DX9 HARDWARE? (software version doesn't matter) if so this needs to be 1 - If not, leave it at 0.
/*-----------------------------------------------------------.
/ LumaSharpen settings /
'-----------------------------------------------------------*/
// -- Sharpening --
#define sharp_strength 1.60 // [0.10 to 3.00] Strength of the sharpening
#define sharp_clamp 0.048 // [0.000 to 1.000] Limits maximum amount of sharpening a pixel recieves - Default is 0.035
// -- Advanced sharpening settings --
#define pattern 2 // [1|2|3|4] Choose a sample pattern. 1 = Fast, 2 = Normal, 3 = Wider, 4 = Pyramid shaped.
#define offset_bias 1.0 // [0.0 to 6.0] Offset bias adjusts the radius of the sampling pattern.
// I designed the pattern for offset_bias 1.0, but feel free to experiment.
// -- Debug sharpening settings --
#define show_sharpen 0 // [0 or 1] Visualize the strength of the sharpen (multiplied by 4 to see it better)
/*-----------------------------------------------------------.
/ Bloom settings /
'-----------------------------------------------------------*/
#define BloomThreshold 20.25 //[0.00 to 50.00] Threshold for what is a bright light (that causes bloom) and what isn't.
#define BloomPower 1.446 //[0.0000 to 8.0000] Strength of the bloom
#define BloomWidth 0.0142 //[0.0000 to 1.0000] Width of the bloom
/*-----------------------------------------------------------.
/ HDR settings /
'-----------------------------------------------------------*/
#define HDRPower 1.00 //[0.0 to 8.0] Strangely lowering this makes the image brighter
#define radius2 0.825 //[0.0 to 8.0] Raising this seems to make the effect stronger and also brighter
/*-----------------------------------------------------------.
/ TECHNICOLOR settings /
'-----------------------------------------------------------*/
#define TechniAmount 0.11 //[0.0 to 1.0]
#define TechniPower 2.8 //[0.0 to 8.0]
#define redNegativeAmount 0.88 //[0.0 to 1.0]
#define greenNegativeAmount 0.88 //[0.0 to 1.0]
#define blueNegativeAmount 0.88 //[0.0 to 1.0]
/*-----------------------------------------------------------.
/ Cineon DPX settings /
'-----------------------------------------------------------*/
#define Red 8.0 //[1.0 to 15.0]
#define Green 8.0 //[1.0 to 15.0]
#define Blue 8.0 //[1.0 to 15.0]
#define ColorGamma 2.5 //[0.1 to 2.5] Adjusts the colorfulness of the effect in a manner similar to Vibrance. 1.0 is neutral.
#define DPXSaturation 3.0 //[0.0 to 8.0] Adjust saturation of the effect. 1.0 is neutral.
#define RedC 0.36 //[0.6 to 0.2]
#define GreenC 0.36 //[0.6 to 0.2]
#define BlueC 0.34 //[0.6 to 0.2]
#define Blend 0.2 //[0.0 to 0.1] How strong the effect should be.
/*-----------------------------------------------------------.
/ Lift Gamma Gain settings /
'-----------------------------------------------------------*/
#define RGB_Lift float3(1.000, 1.000, 1.000) //[0.000 to 2.000] Adjust shadows for Red, Green and Blue
#define RGB_Gamma float3(1.000, 1.000, 1.000) //[0.000 to 2.000] Adjust midtones for Red, Green and Blue
#define RGB_Gain float3(1.000, 1.000, 1.000) //[0.000 to 2.000] Adjust highlights for Red, Green and Blue
/*-----------------------------------------------------------.
/ Tonemap settings /
'-----------------------------------------------------------*/
#define Gamma 1.0 //[0.00 to 2.00] Adjust midtones
#define Exposure 0.00 //[-1.00 to 1.00] Adjust exposure
#define Saturation -0.20 //[-1.00 to 1.00] Adjust saturation
#define Bleach 0.00 //[0.00 to 1.00] Brightens the shadows and fades the colors
#define Defog 0.008 //[0.00 to 1.00] How much of the color tint to remove
#define FogColor float3(0.00, 2.55, 2.30) //[0.00 to 1.00, 0.00 to 1.00, 0.00 to 1.00] What color to remove - default is blue
/*-----------------------------------------------------------.
/ Vibrance settings /
'-----------------------------------------------------------*/
#define Vibrance 0.40 //[-1.0 to 1.0] Intelligently saturates (or desaturates if you use negative values) the pixels depending on their original saturation.
/*-----------------------------------------------------------.
/ Curves settings /
'-----------------------------------------------------------*/
#define Curves_contrast 0.30 //[-1.0 to 1.0] The amount of contrast you want
// -- Advanced curve settings --
#define Curves_formula 7 //[1|2|3|4|5|6|7] The constrast s-curve you want to use.
/*-----------------------------------------------------------.
/ Sepia settings /
'-----------------------------------------------------------*/
#define ColorTone float3(1.40, 1.10, 0.90) //[0.00 to 1.00, 0.00 to 1.00, 0.00 to 1.00] What color to tint the image
#define GreyPower 0.11 //[0.0 to 1.0] How much desaturate the image before tinting it
#define SepiaPower 0.58 //[0.0 to 1.0] How much to tint the image
/*-----------------------------------------------------------.
/ Vignette settings /
'-----------------------------------------------------------*/
#define VignetteRadius 1.00 //[-1.00 to 3.00] lower values = stronger radial effect from center
#define VignetteAmount -1.00 //[-2.00 to 1.00] Strength of black. -2.00 = Max Black, 1.00 = Max White.
#define VignetteSlope 8 //[1 to 16] How far away from the center the change should start to really grow strong (odd numbers cause a larger fps drop than even numbers)
#define VignetteCenter float2(0.500, 0.500) //[0.00 to 1.00] Center of effect.
/*-----------------------------------------------------------.
/ Dither settings /
'-----------------------------------------------------------*/
//No settings yet, beyond switching it on or off in the top section.
//Note that the checkerboard pattern used by Dither, makes an image harder to compress.
//This can make your screenshots and video recordings take up more space.
/*-----------------------------------------------------------.
/ Splitscreen settings /
'-----------------------------------------------------------*/
#define splitscreen_mode 3 //[1|2|3|4|5] 1 = Vertical 50/50 split, 2 = Vertical 25/50/25 split, 3 = Vertical 50/50 angled split, 4 = Horizontal 50/50 split, 5 = Horizontal 25/50/25 split
Efraim27 escribió:Naer escribió:Efraim27 escribió:Interesante hilo. Tengo que probarlo en el Guild Wars 2 a ver como se ve
Asi:
Configuracion:/*-----------------------------------------------------------.
/ Choose effects /
'-----------------------------------------------------------*/
// Set to 1 for ON or 0 for OFF
#define USE_SMAA_ANTIALIASING 1 //[0 or 1] SMAA Anti-aliasing : Smoothens jagged lines.
#define USE_LUMASHARPEN 1 //[0 or 1] LumaSharpen : Also sharpens the antialiased edges which makes them less smooth - I'm working on fixing that.
#define USE_BLOOM 0 //[0 or 1] Bloom : Makes bright lights bleed their light into their surroundings (relatively high performance cost)
#define USE_HDR 1 //[0 or 1] HDR : Not actual HDR - It just tries to mimic an HDR look (relatively high performance cost)
#define USE_TECHNICOLOR 0 //[0 or 1] TECHNICOLOR : Attempts to mimic the look of an old movie using the Technicolor three-strip color process (Techicolor Process 4)
#define USE_DPX 0 //[0 or 1] Cineon DPX : Should make the image look like it's been converted to DXP Cineon - basically it's another movie-like look similar to technicolor.
#define USE_LIFTGAMMAGAIN 0 //[0 or 1] Lift Gamma Gain : Adjust brightness and color of shadows, midtones and highlights (avoids clipping)
#define USE_TONEMAP 1 //[0 or 1] Tonemap : Adjust gamma, exposure, saturation, bleach and defog. (may cause clipping)
#define USE_VIBRANCE 1 //[0 or 1] Vibrance : Intelligently saturates (or desaturates if you use negative values) the pixels depending on their original saturation.
#define USE_CURVES 0 //[0 or 1] Curves : Contrast adjustments using S-curves.
#define USE_SEPIA 0 //[0 or 1] Sepia : Sepia tones the image.
#define USE_VIGNETTE 0 //[0 or 1] Vignette : Darkens the edges of the image to make it look more like it was shot with a camera lens. May cause banding artifacts.
#define USE_DITHER 0 //[0 or 1] Dither : Applies dithering to simulate more colors than your monitor can display. This lessens banding artifacts (mostly caused by Vignette)
#define USE_SPLITSCREEN 0 //[0 or 1] Splitscreen : Enables the before-and-after splitscreen comparison mode.
/*-----------------------------------------------------------.
/ SMAA Anti-aliasing settings /
'-----------------------------------------------------------*/
#define SMAA_THRESHOLD 0.05 // [0.05 to 0.20] Edge detection threshold
#define SMAA_MAX_SEARCH_STEPS 16 // [0 to 98] Determines the radius SMAA will search for aliased edges
#define SMAA_MAX_SEARCH_STEPS_DIAG 10 // [0 to 16] Determines the radius SMAA will search for diagonal aliased edges
#define SMAA_CORNER_ROUNDING 20 // [0 to 100] Determines the percent of antialiasing to apply to corners.
// -- Advanced SMAA settings --
#define COLOR_EDGE_DETECTION 1 // [0 or 1] 1 Enables color edge detection (slower but slightly more acurate) - 0 uses luma edge detection (faster)
#define SMAA_DIRECTX9_LINEAR_BLEND 0 // [0 or 1] Using DX9 HARDWARE? (software version doesn't matter) if so this needs to be 1 - If not, leave it at 0.
/*-----------------------------------------------------------.
/ LumaSharpen settings /
'-----------------------------------------------------------*/
// -- Sharpening --
#define sharp_strength 1.60 // [0.10 to 3.00] Strength of the sharpening
#define sharp_clamp 0.048 // [0.000 to 1.000] Limits maximum amount of sharpening a pixel recieves - Default is 0.035
// -- Advanced sharpening settings --
#define pattern 2 // [1|2|3|4] Choose a sample pattern. 1 = Fast, 2 = Normal, 3 = Wider, 4 = Pyramid shaped.
#define offset_bias 1.0 // [0.0 to 6.0] Offset bias adjusts the radius of the sampling pattern.
// I designed the pattern for offset_bias 1.0, but feel free to experiment.
// -- Debug sharpening settings --
#define show_sharpen 0 // [0 or 1] Visualize the strength of the sharpen (multiplied by 4 to see it better)
/*-----------------------------------------------------------.
/ Bloom settings /
'-----------------------------------------------------------*/
#define BloomThreshold 20.25 //[0.00 to 50.00] Threshold for what is a bright light (that causes bloom) and what isn't.
#define BloomPower 1.446 //[0.0000 to 8.0000] Strength of the bloom
#define BloomWidth 0.0142 //[0.0000 to 1.0000] Width of the bloom
/*-----------------------------------------------------------.
/ HDR settings /
'-----------------------------------------------------------*/
#define HDRPower 1.00 //[0.0 to 8.0] Strangely lowering this makes the image brighter
#define radius2 0.825 //[0.0 to 8.0] Raising this seems to make the effect stronger and also brighter
/*-----------------------------------------------------------.
/ TECHNICOLOR settings /
'-----------------------------------------------------------*/
#define TechniAmount 0.11 //[0.0 to 1.0]
#define TechniPower 2.8 //[0.0 to 8.0]
#define redNegativeAmount 0.88 //[0.0 to 1.0]
#define greenNegativeAmount 0.88 //[0.0 to 1.0]
#define blueNegativeAmount 0.88 //[0.0 to 1.0]
/*-----------------------------------------------------------.
/ Cineon DPX settings /
'-----------------------------------------------------------*/
#define Red 8.0 //[1.0 to 15.0]
#define Green 8.0 //[1.0 to 15.0]
#define Blue 8.0 //[1.0 to 15.0]
#define ColorGamma 2.5 //[0.1 to 2.5] Adjusts the colorfulness of the effect in a manner similar to Vibrance. 1.0 is neutral.
#define DPXSaturation 3.0 //[0.0 to 8.0] Adjust saturation of the effect. 1.0 is neutral.
#define RedC 0.36 //[0.6 to 0.2]
#define GreenC 0.36 //[0.6 to 0.2]
#define BlueC 0.34 //[0.6 to 0.2]
#define Blend 0.2 //[0.0 to 0.1] How strong the effect should be.
/*-----------------------------------------------------------.
/ Lift Gamma Gain settings /
'-----------------------------------------------------------*/
#define RGB_Lift float3(1.000, 1.000, 1.000) //[0.000 to 2.000] Adjust shadows for Red, Green and Blue
#define RGB_Gamma float3(1.000, 1.000, 1.000) //[0.000 to 2.000] Adjust midtones for Red, Green and Blue
#define RGB_Gain float3(1.000, 1.000, 1.000) //[0.000 to 2.000] Adjust highlights for Red, Green and Blue
/*-----------------------------------------------------------.
/ Tonemap settings /
'-----------------------------------------------------------*/
#define Gamma 1.0 //[0.00 to 2.00] Adjust midtones
#define Exposure 0.00 //[-1.00 to 1.00] Adjust exposure
#define Saturation -0.20 //[-1.00 to 1.00] Adjust saturation
#define Bleach 0.00 //[0.00 to 1.00] Brightens the shadows and fades the colors
#define Defog 0.008 //[0.00 to 1.00] How much of the color tint to remove
#define FogColor float3(0.00, 2.55, 2.30) //[0.00 to 1.00, 0.00 to 1.00, 0.00 to 1.00] What color to remove - default is blue
/*-----------------------------------------------------------.
/ Vibrance settings /
'-----------------------------------------------------------*/
#define Vibrance 0.40 //[-1.0 to 1.0] Intelligently saturates (or desaturates if you use negative values) the pixels depending on their original saturation.
/*-----------------------------------------------------------.
/ Curves settings /
'-----------------------------------------------------------*/
#define Curves_contrast 0.30 //[-1.0 to 1.0] The amount of contrast you want
// -- Advanced curve settings --
#define Curves_formula 7 //[1|2|3|4|5|6|7] The constrast s-curve you want to use.
/*-----------------------------------------------------------.
/ Sepia settings /
'-----------------------------------------------------------*/
#define ColorTone float3(1.40, 1.10, 0.90) //[0.00 to 1.00, 0.00 to 1.00, 0.00 to 1.00] What color to tint the image
#define GreyPower 0.11 //[0.0 to 1.0] How much desaturate the image before tinting it
#define SepiaPower 0.58 //[0.0 to 1.0] How much to tint the image
/*-----------------------------------------------------------.
/ Vignette settings /
'-----------------------------------------------------------*/
#define VignetteRadius 1.00 //[-1.00 to 3.00] lower values = stronger radial effect from center
#define VignetteAmount -1.00 //[-2.00 to 1.00] Strength of black. -2.00 = Max Black, 1.00 = Max White.
#define VignetteSlope 8 //[1 to 16] How far away from the center the change should start to really grow strong (odd numbers cause a larger fps drop than even numbers)
#define VignetteCenter float2(0.500, 0.500) //[0.00 to 1.00] Center of effect.
/*-----------------------------------------------------------.
/ Dither settings /
'-----------------------------------------------------------*/
//No settings yet, beyond switching it on or off in the top section.
//Note that the checkerboard pattern used by Dither, makes an image harder to compress.
//This can make your screenshots and video recordings take up more space.
/*-----------------------------------------------------------.
/ Splitscreen settings /
'-----------------------------------------------------------*/
#define splitscreen_mode 3 //[1|2|3|4|5] 1 = Vertical 50/50 split, 2 = Vertical 25/50/25 split, 3 = Vertical 50/50 angled split, 4 = Horizontal 50/50 split, 5 = Horizontal 25/50/25 split
Coñe, pues si se nota el cambio. Baja mucho el rendimiento? Supongo que tambien dependera del equipo que tenga cada uno.


DaRKKoNNaN escribió:¿Pero no entiendo, es decir, tu lo pones y ya te cambia los juegos o como?

Razer7 escribió:Y si no tienes la tecla scroll lock en el teclado???
Como lo activas? puedes configurar otra tecla al gusto?
DaRKKoNNaN escribió:¿Pero no entiendo, es decir, tu lo pones y ya te cambia los juegos o como?
![[+risas]](/images/smilies/nuevos/risa_ani3.gif "más risas")
![[qmparto]](/images/smilies/net_quemeparto.gif "Que me parto!")
AlbertX escribió:Conozco este programa desde hace algun tiempo, no es un ENB, ya que el ENB añade realmente efectos graficos, cambia la manera de dispersion de la luz, depth of field etc.
Sin embargo este programa añade algunos efectos interesantes, sobre todo en el color y la iluminacion, tocando un poco los parametros se pueden obtener colores o mas vivos o mas reales o ajustarlo mas a nuestro gusto, el antialiasing funciona bastante bien.
Lo que dejo claro es que por ejemplo el ENB de Deus EX añade AMBIENT OCCLUSSION, reflejos e iluminacion mas real, mientras que el sweet FX no hace nada de esto.
Debes pensar en el mas como un PHOTOSHOP, donde tomas una foto le agregas flitros y logras cambiar o mejorar los colores, pero hasta alli.
Eso si insistos los resultados pueden ser muy buenos y mejorar enormemente la experiencia de juego.
Les dejo este link: http://sweetfx.thelazy.net/
Alli pueden configurar con una GUI todos los parametros de SWEETFX de una manera mas simple[b][/b], y como los cambios se efectuan on the fly, entonces pueden ir viendo el resultado, les aseguro que esa herramienta les hara mucho mas facil la vida.
AlbertX escribió:Les dejo este link: http://sweetfx.thelazy.net/
Alli pueden configurar con una GUI todos los parametros de SWEETFX de una manera mas simple[/size][b][/b], y como los cambios se efectuan on the fly, entonces pueden ir viendo el resultado, les aseguro que esa herramienta les hara mucho mas facil la vida.
probadlo, os ahorra tener que ir editando manualmente y ademas permite luego guardar el perfil y tenerlo accesible en cualquier momento y lo mismo para varios juegos ya que podeis ir añadiendo los juegos y perfiles que querais La añado al primer hilo gejorsnake escribió:Yo con los años estoy muy perrete xD
Hay algún sitio en el que estén ya configurados los archivos para cada juego con los mejores resultados ?
P . D :Que ya estoy cansado de pasarme más tiempo toqueteando que jugando
![[toctoc]](/images/smilies/nuevos2/rompiendo.gif "machacando") y con el programa de arriba es aun mas sencillo y rapido xD, unos....30 segundos?
y con el programa de arriba es aun mas sencillo y rapido xD, unos....30 segundos? ![[poraki]](/images/smilies/nuevos/dedos.gif "por aquí!")

![[mad]](/images/smilies/nuevos/miedo.gif "loco")
gejorsnake escribió:30 segundos?
Demasiado tiempo,así empezé con el SKYRIM y mira como acabamos ...
Ayer lo probé con el DarkSiders2 y cambia bastante,le pegaré un vistacillo a la GUI a ver como chuta.
Gracias Zack_VII y AlbertX
y si todos empezamos a usar la interfaz esa, podemos tabien subir los perfiles que creemos (es solo un archivo) para que otros los carguen desde el programa imagino 
 mientras que en juegos con buena base, mejora lo presente
SweetFX usually works even when you have other types of AA turned on in the game, however a few games implement AA in a way that is not compatible with SweetFX.
So far I've noticed that you need to turn off in-game AA in all the Crysis games, Psychonauts, and Guild Wars 1, for SweetFX to work right.
Zack_VII escribió:Creo quetengo el crysis desintalado, sino podria probar. Antes de descartarlo por completo, prueba:
- Ejecutarlo en DX9 si esque se puede.
- Desactivar el AA y cualquier opcion relacionada al mismo.
- Ejecutar como administrador.
De echo he encontrado esto por ahiSweetFX usually works even when you have other types of AA turned on in the game, however a few games implement AA in a way that is not compatible with SweetFX.
So far I've noticed that you need to turn off in-game AA in all the Crysis games, Psychonauts, and Guild Wars 1, for SweetFX to work right.
Asi que prueba a ver.

 pero bueno, lo he definido aun mas, fuera borrosidad, mas color, algo mas de contrastes, lo de siempre xD
 Naer escribió:¿Es posible cambiar el formato en el que saca las capturas el mod? Es que por defecto las saca en png y me ocupa cada captura 6-7mb. Al pasarlas a jpg apenas ocupan en comparacion, pero claro, es un coñazo hacerlo manualmente...


Megaup escribió:Aqui os dejo una web con varias configuraciones, todas se ven de lujo, es un maestro del SweetFx xD
http://www.whoisjimothy.com/public/sweetfx/
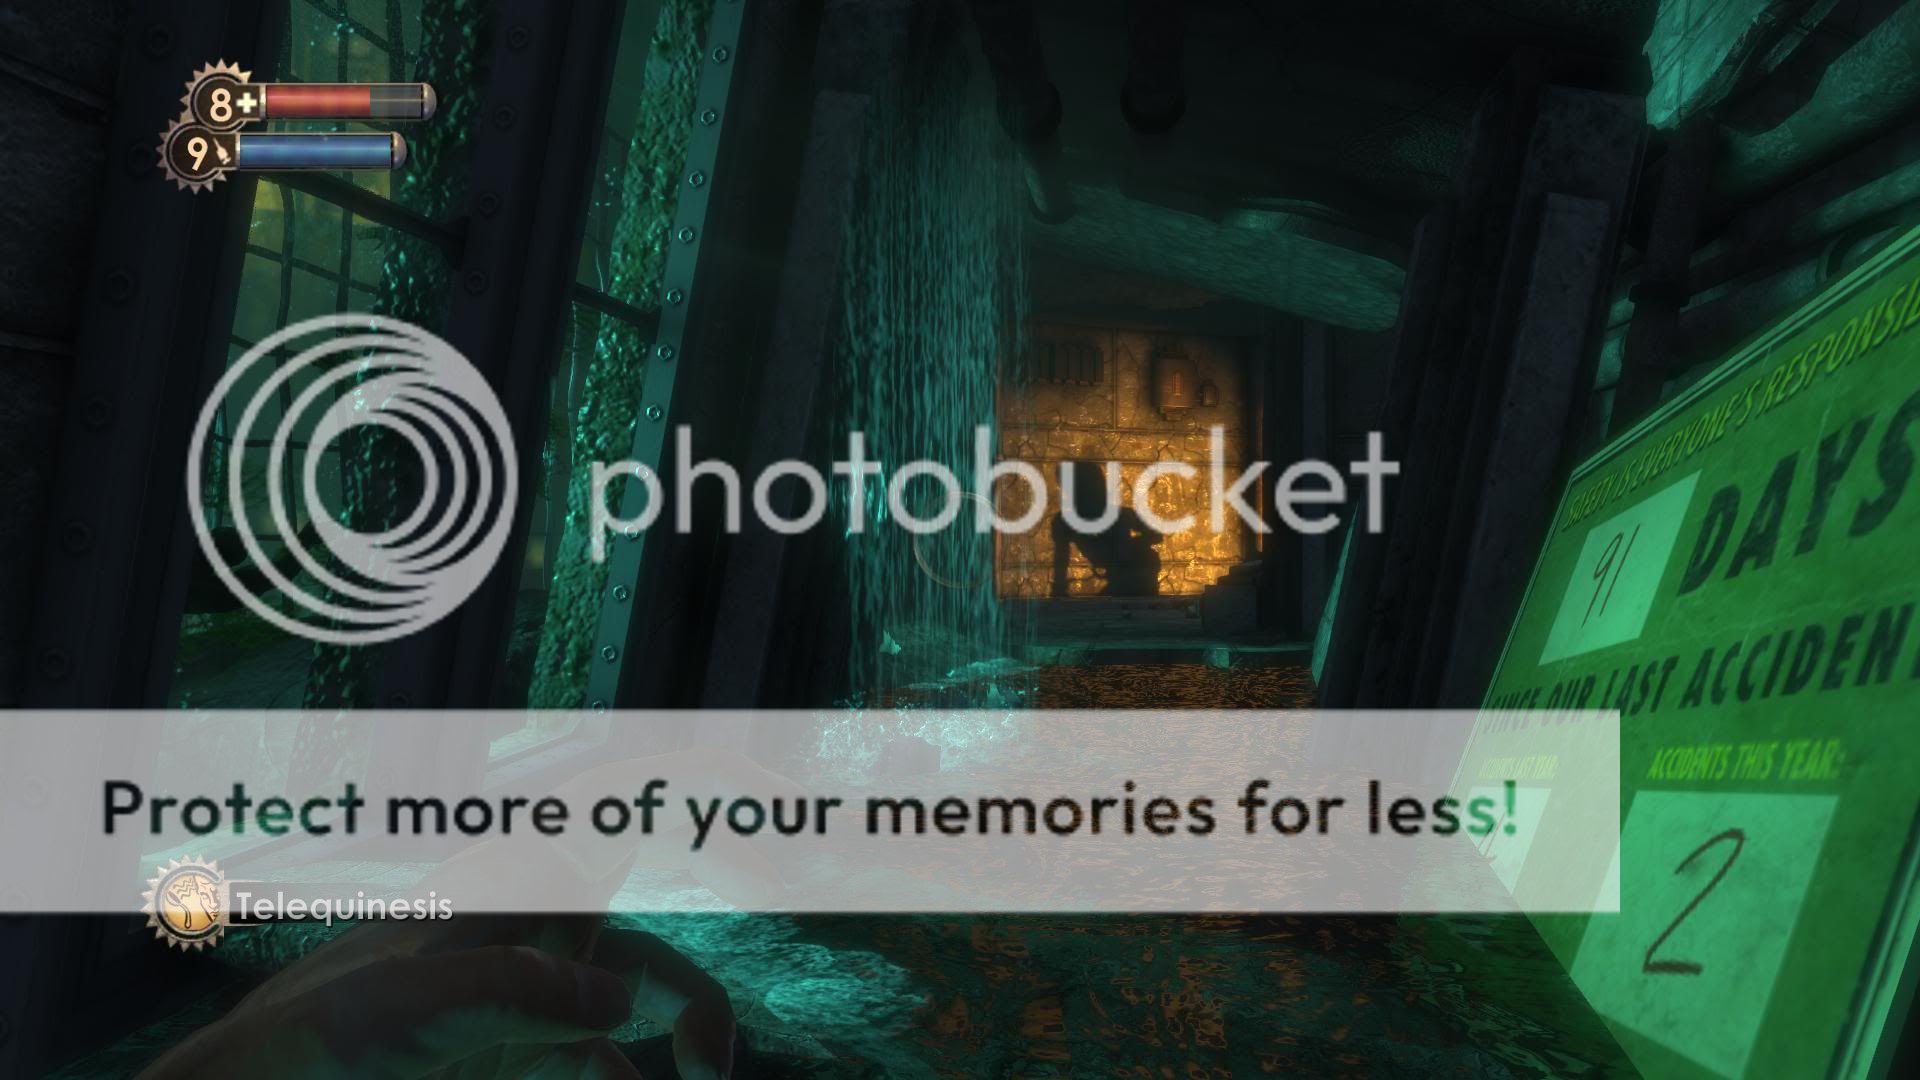
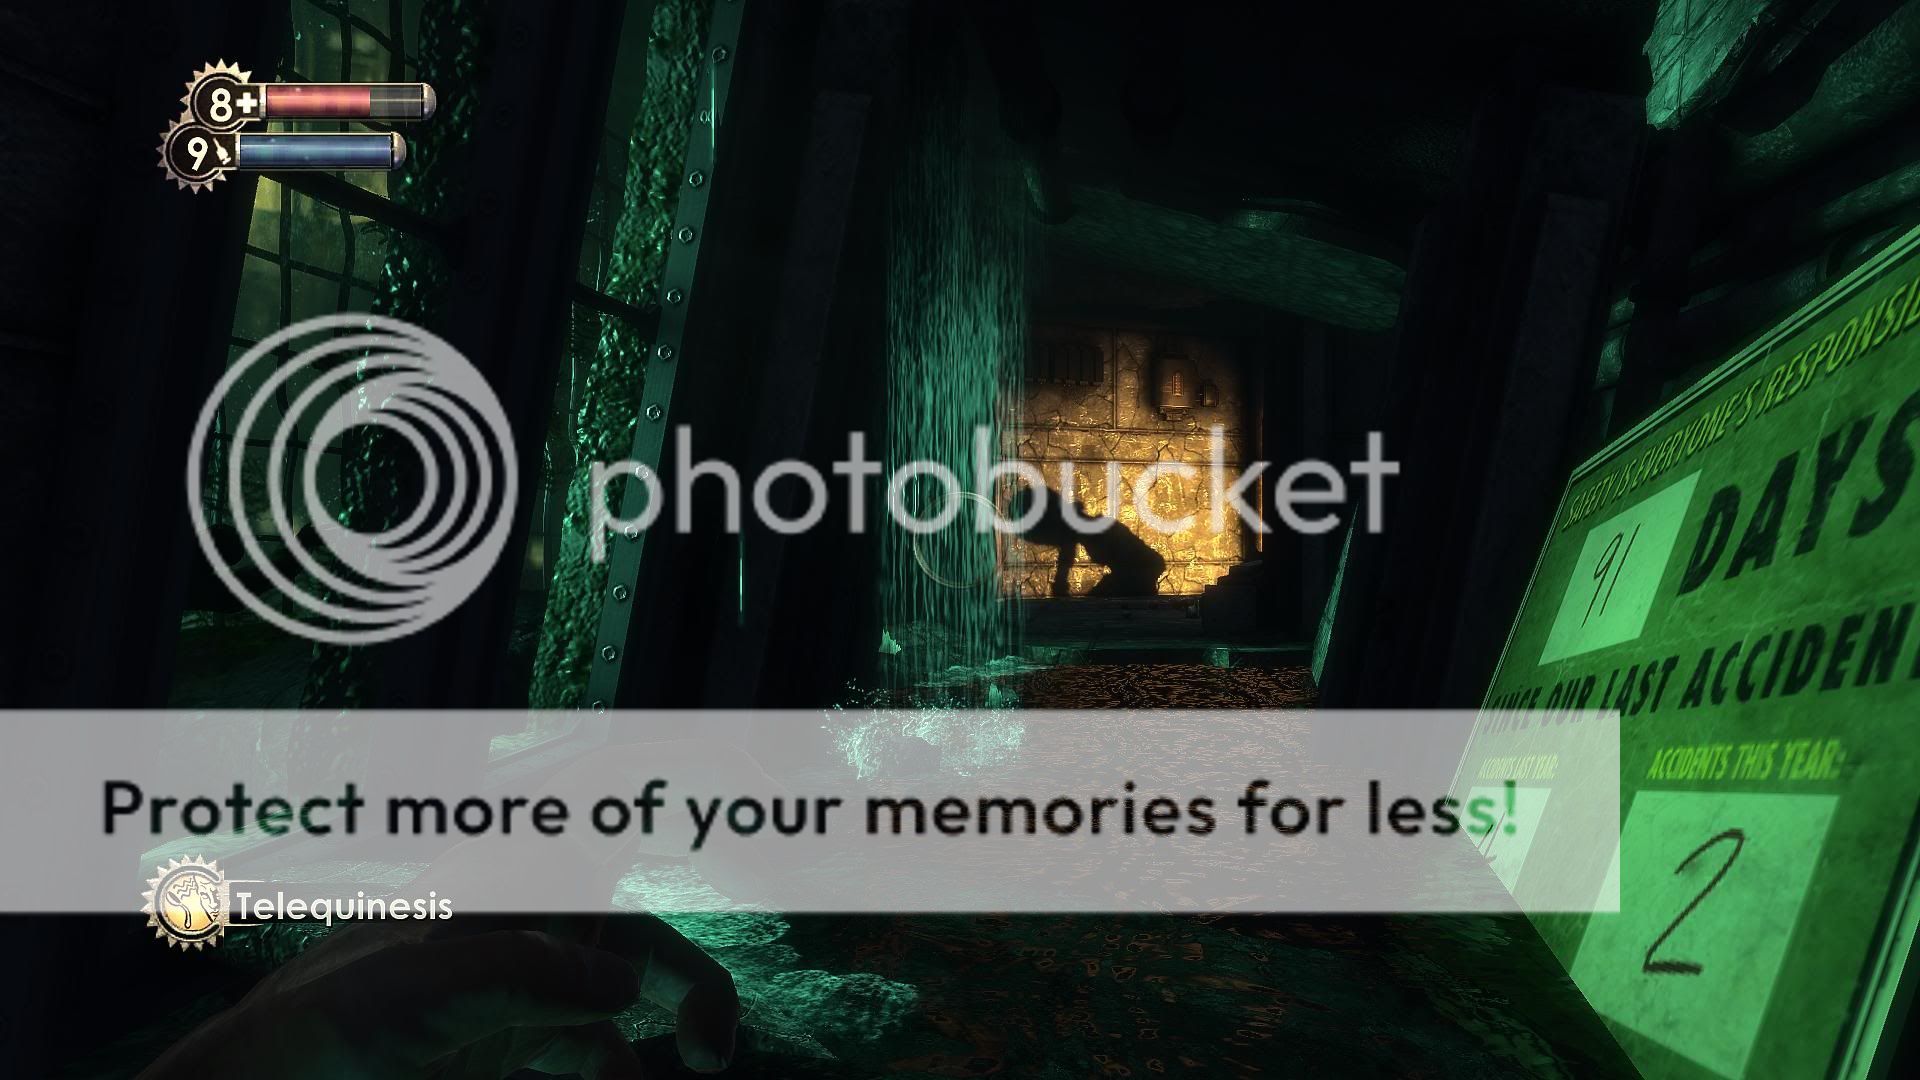
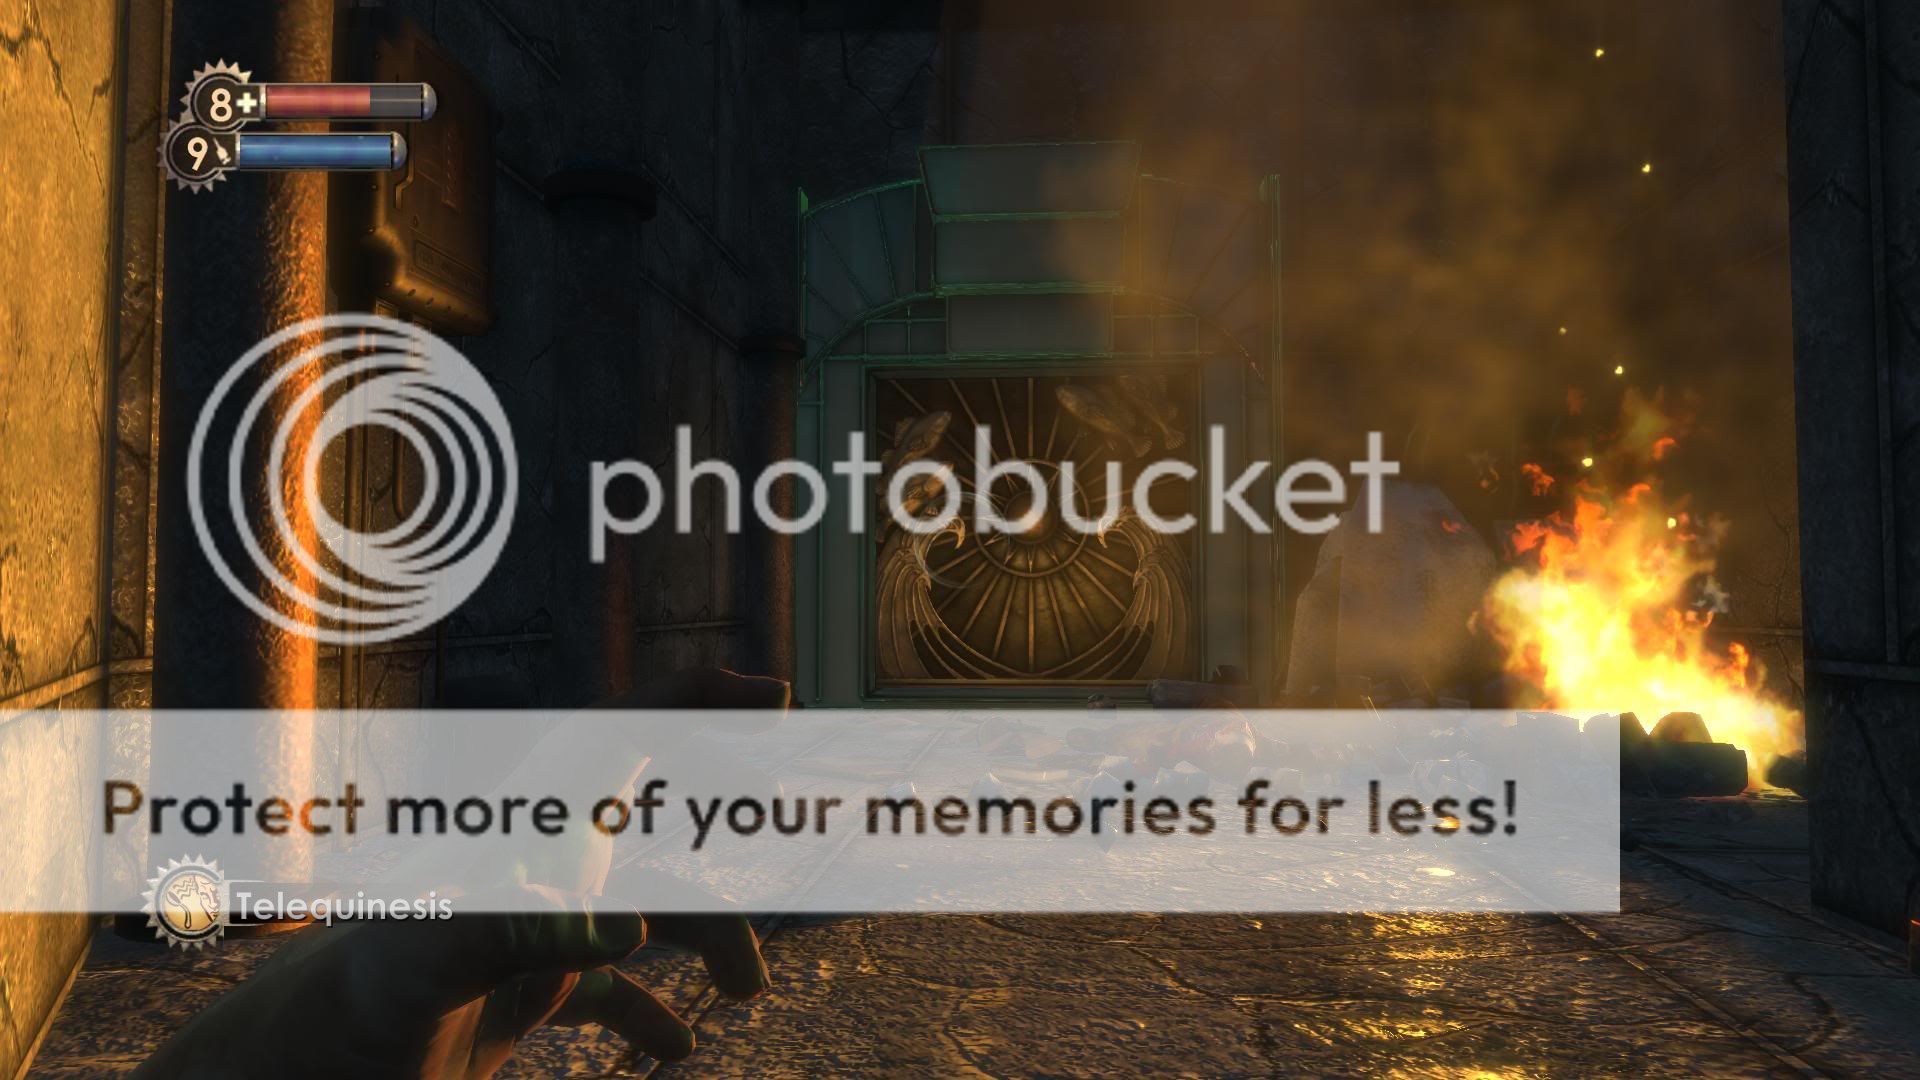
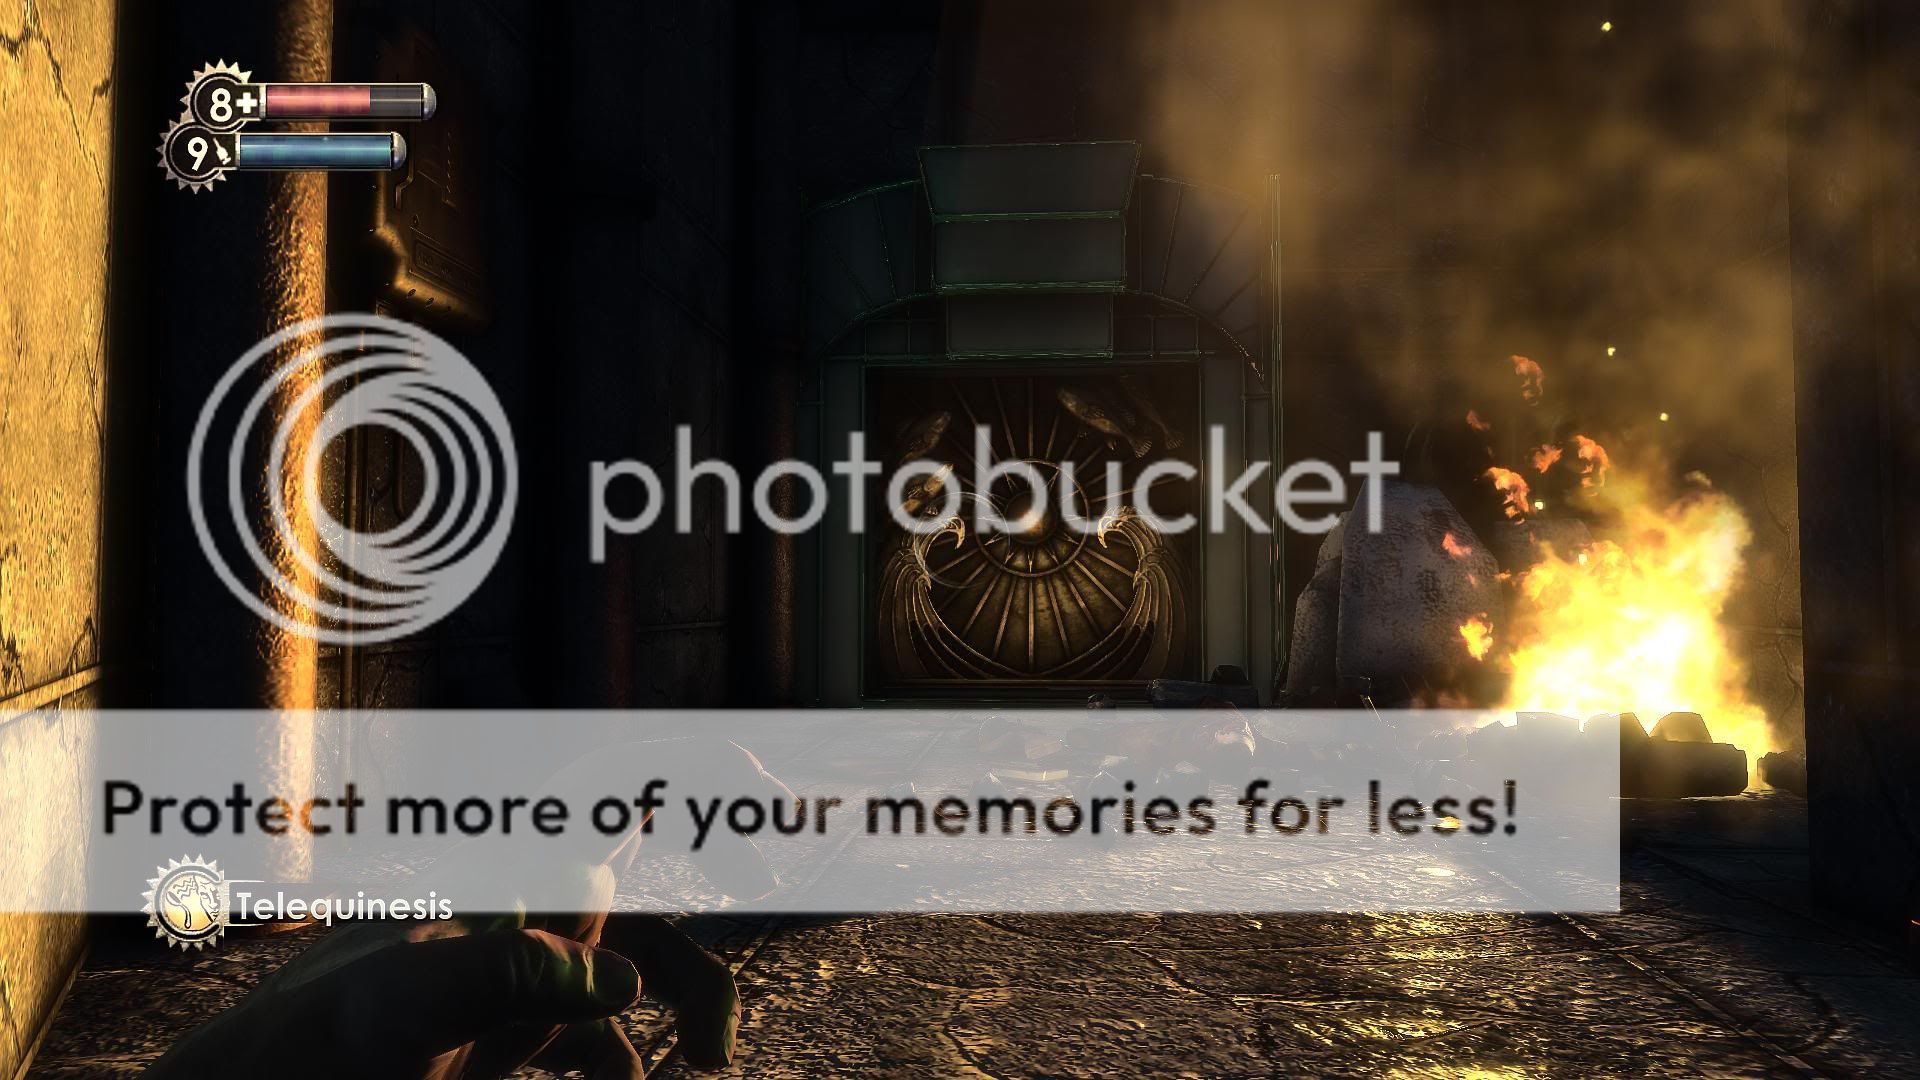
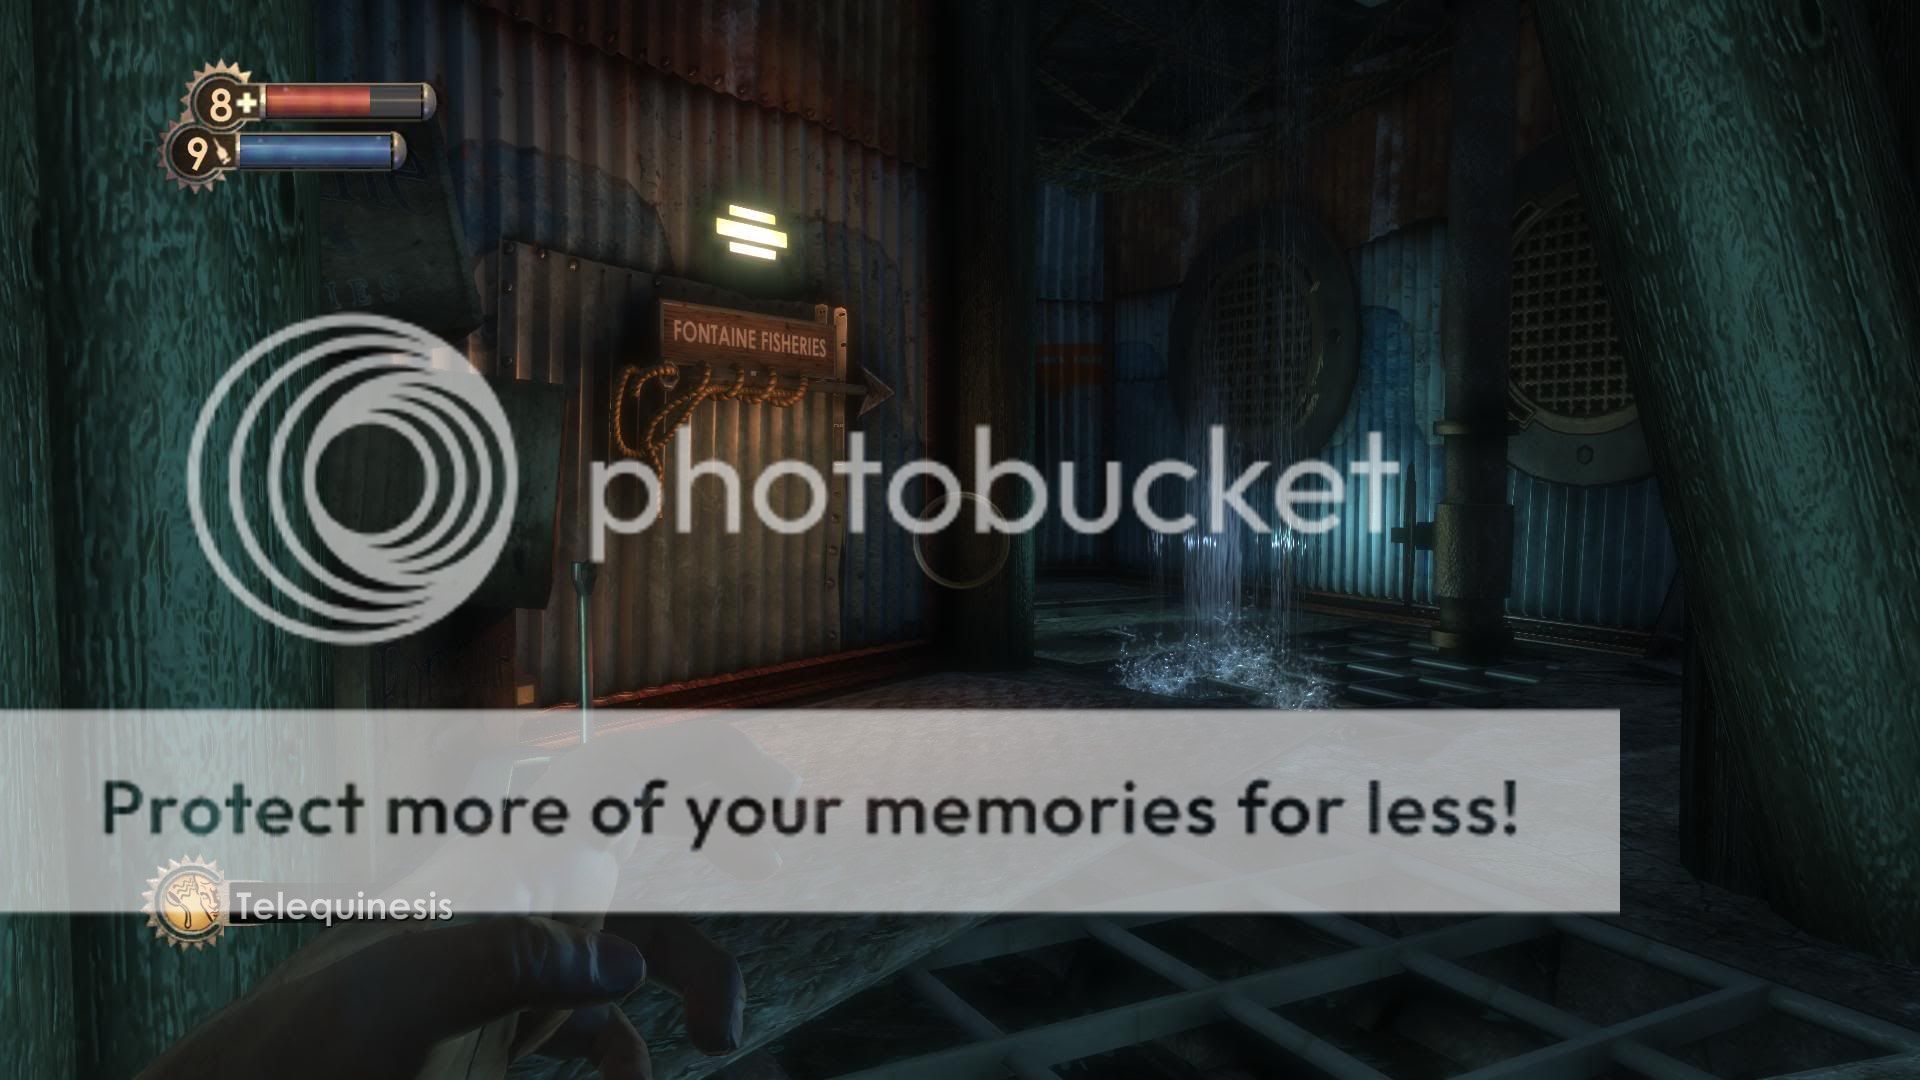
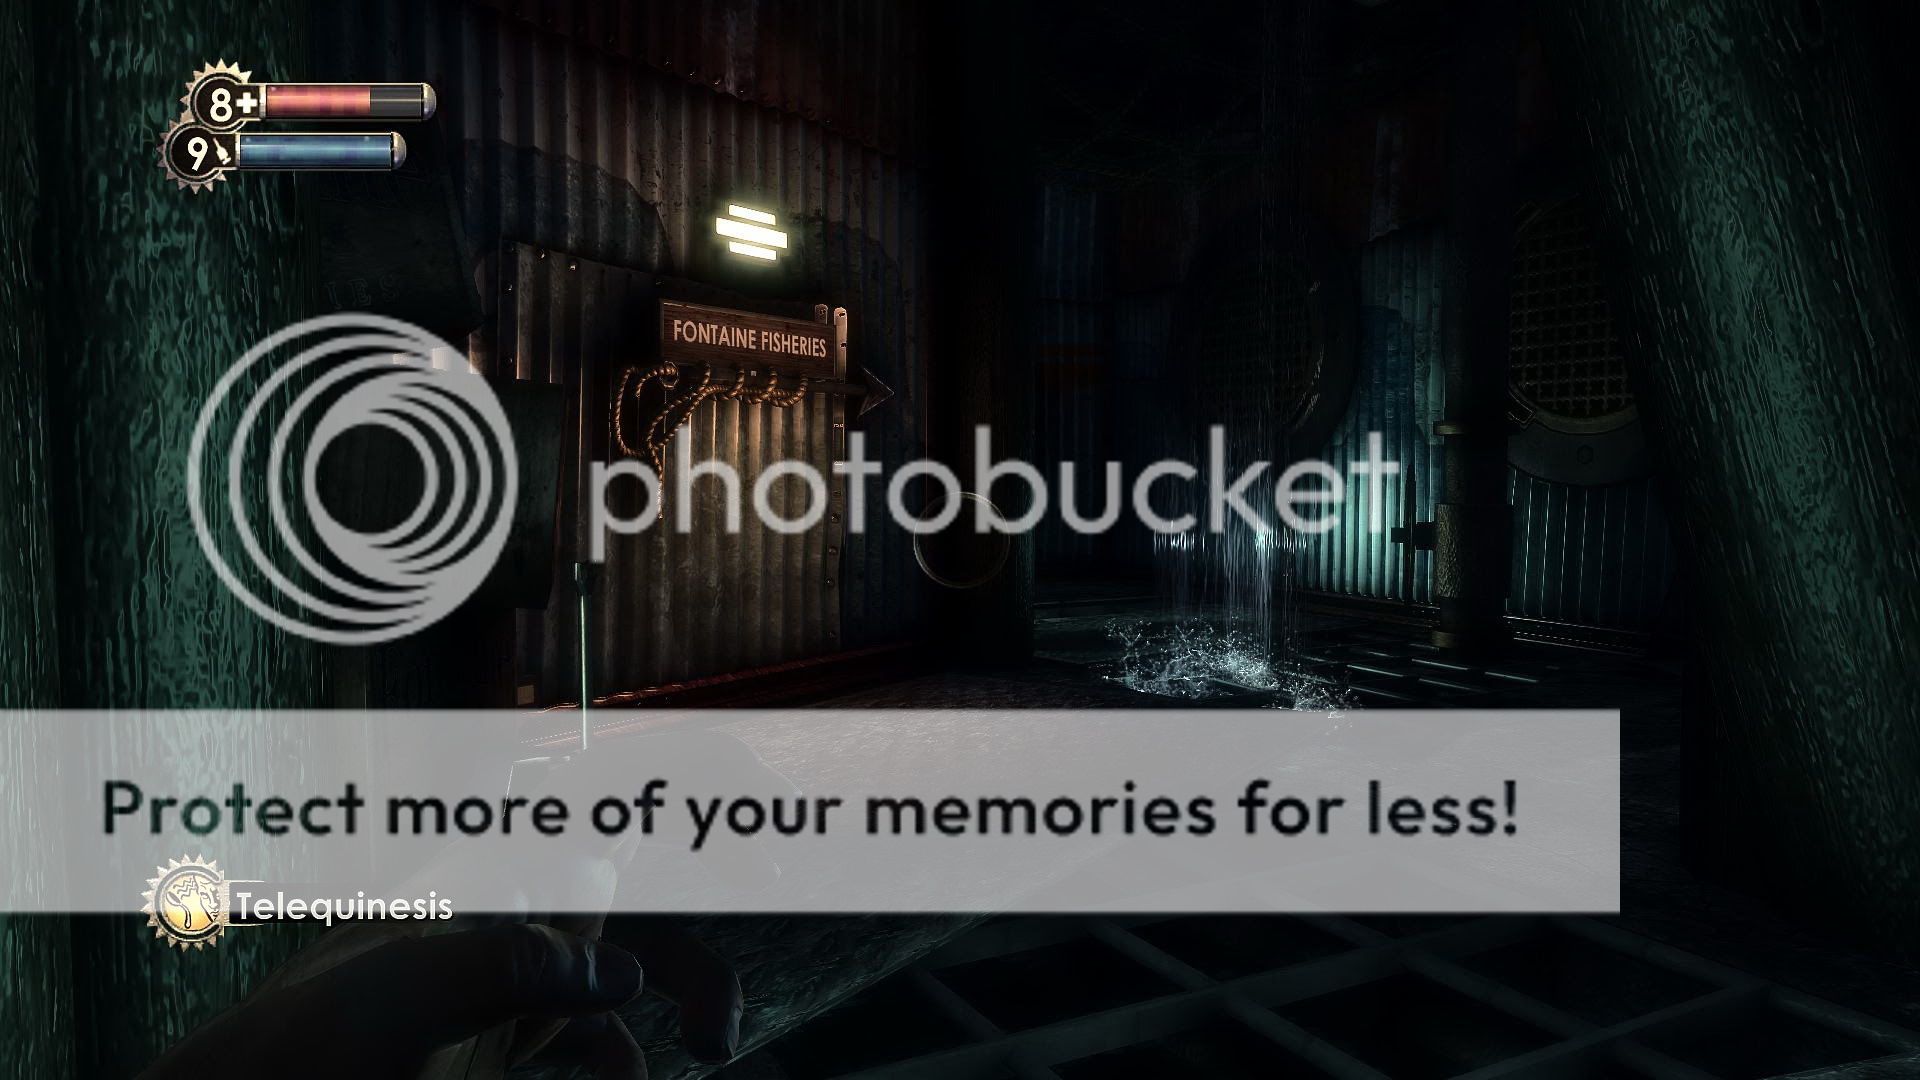
stakado escribió:he estado trasteando con el sweet FX buscando una configuracion maja para el Bioshock, y creo que ya me planto.
mi intencion era quitar el aspecto colorista y lechoso del bioshock vanilla, y darle un toque oscuro y algo mas realista, a ver que opinais:
Richter Belmont escribió:impresionante,podrias darme la config?

![[oki]](/images/smilies/net_thumbsup.gif "Ok!")